Add Image Gallery for the All Images in Markdown Post

Recently, I got a question asking about the functionality to make image pop up so viewer can have a better look at it. I’m not sure what is the common name of the functionality (popup image? image gallery?), but I happens to have thought about the same feature long time ago, but never started implementation. So I thought this would be the good time to start it!
And it took whole friday night because I didn’t know that element.src and element.getAttribute(src) returns different thing
Extension Candidates
Apparently, there are many image gallery Javascript/JQuery extensions.
Since I have NO idea about which is better, I simply went to their github and tried the one that are still actively maintained. Which was PhotoSwipe. But it had a huge problem. It does not support auto calculation of the image size!
After some digging, I found a perfect candidate LightBox plugin for the Jekyll. It’s very simple and easy to play with. I had to make some change so it can be used with Hydejack theme.
I highly appreciate for the Jekyll Codex. Codex done all the hard work and made my day easier.
What it does
The Jekyll converts markdown image syntax  to html like <p><img src="src_path" alt="alt_txt"></p>. But what we need is img tag surrounded by anchor tag.
So the modified version of lightbox.js parses all the img tag and wrap it with a tag before doing anything else. If you want particular image not to be touched, put no-lightbox class to it.
Example:


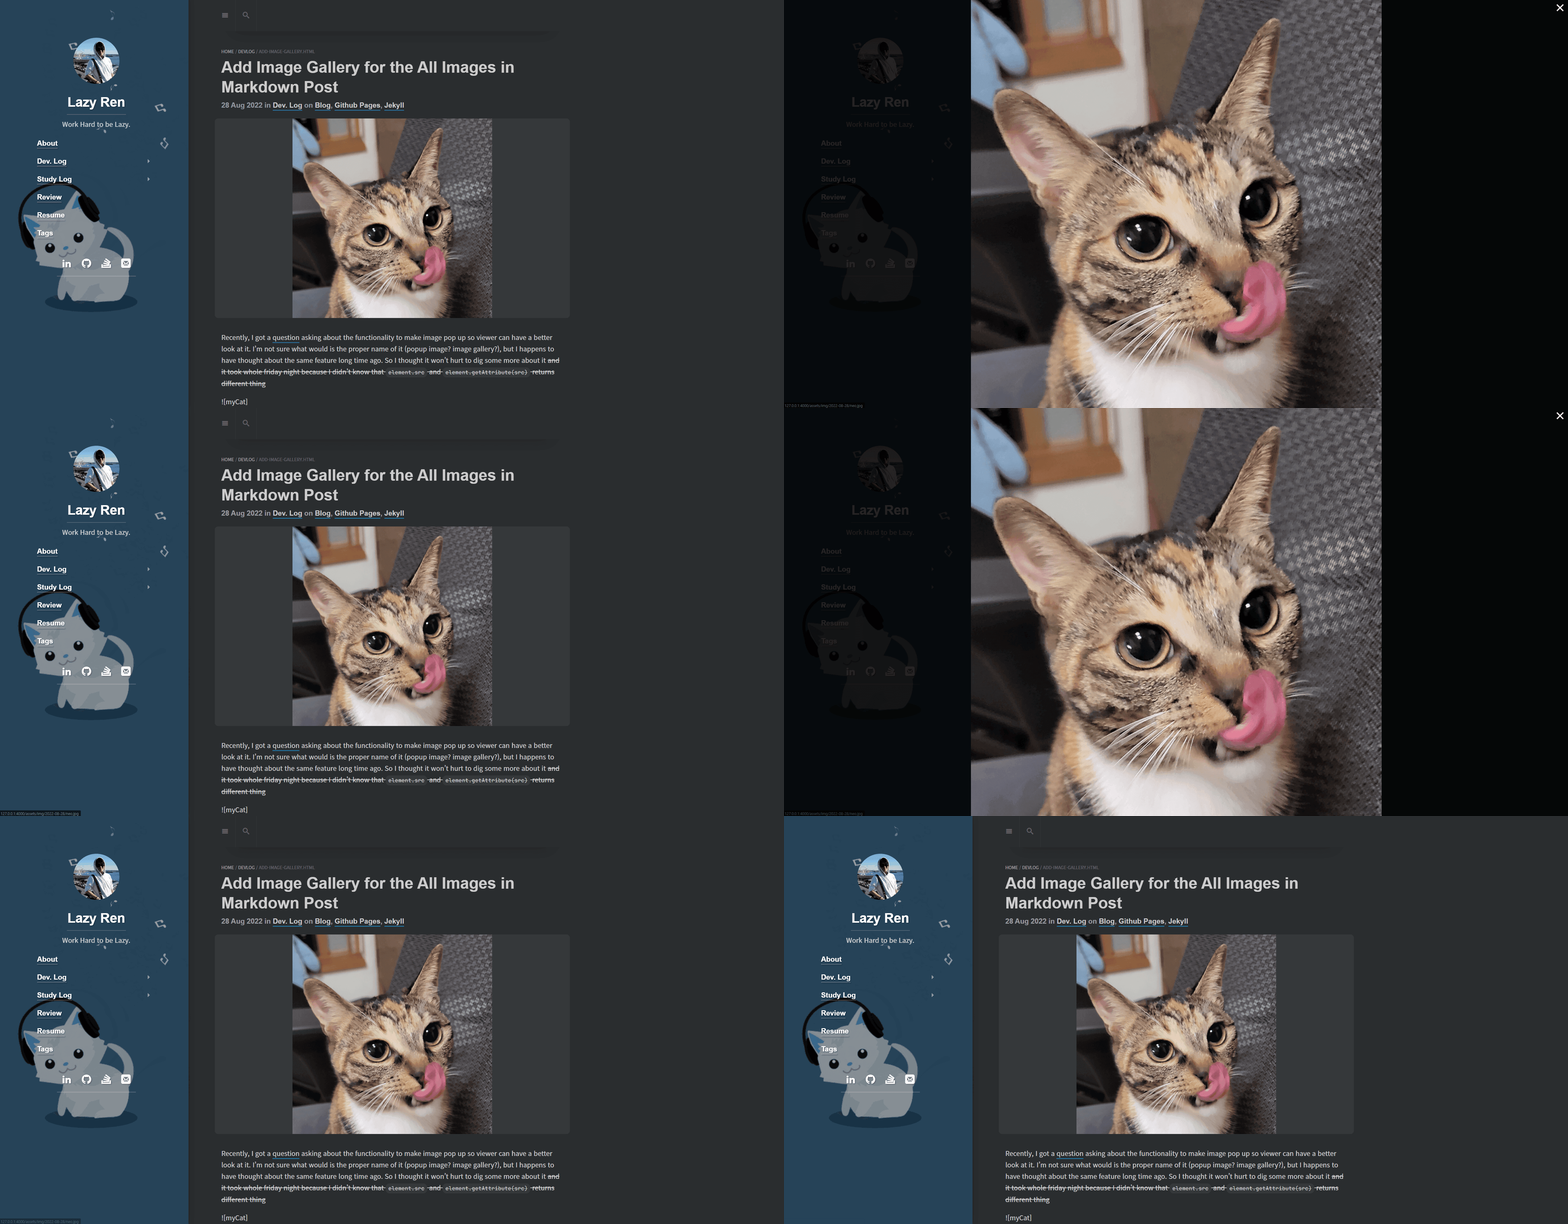
Left: LightBox on / Right: LightBox off
You need bigger image to maximize Neo’s cuteness.
Markdown:

{:.no-lightbox}
Implementation
If you think code speaks all, here is the link to the commit.
Download Necessary Files
The plugin comes with two files. lightbox.js and lightbox.css. Save those to the /assets/js & /assets/css accordingly.
The given link to the lightbox.js is not identical to the one from the original page. I have made some changes to it and it is necessary for you to download the fixed version to run it in Hydejack blog.
_config.yml
Simply puts below option to anywhere.
(Somewhere around # 3rd Party Integrations would be sufficient)
# file: "_config.yml"
lightbox: true
links-static.html
Add below to the end of the file so the css file can be linked.
<!-- file: "_includes/head/links-static.html" -->
{% if site.lightbox %}
  <link rel="stylesheet" href="/assets/css/lightbox.css">
{% endif %}
my-scripts.html
Import js script file that we’ve downloaded, and use Hydejack event listener so the code can be executed every time the new page gets loaded.
<!-- file: "_includes/my-scripts.html" -->
{% if site.lightbox %}
  <script src="/assets/js/lightbox.js"></script>
{% endif %}

<script>
  document
    .getElementById("_pushState")
    .addEventListener("hy-push-state-load", function () {
      apply_lightbox();
    });
</script>
